Showing posts with label bacon. Show all posts

Tuesday, November 16, 2010

Coq Au Vin

Finally, my heavy work assignment has come to an end, and I’m back in the kitchen, kittens! To celebrate, I decided to take a few days off, and cook something grand on one of those days. Because I had a spare chicken in the freezer (I love that), I settled on the grand and delicious sounding coq au vin.

Coq au vin is, basically, chicken (usually an older, tougher chicken) stewed in wine until it is tender and flavorful. The addition of bacon, mushrooms and pearl onions only added to the allure of the dish, and I thought it was a perfect way to get back into the swing of cooking my way through this lovely book. A quick trip to the Whole Foods for the aromatics and some wine, and we were set to go.

First things first--marinate the chicken. Easy enough--I chopped up the aromatics (onion, carrot, celery) and bundled up the herbs and spices, plopping them all into my biggest kitchen bowl with the chicken, and then poured a bottle of cheap French red over the top. This is where I ran into my first problem, however. Tony calls for the wine to fully cover the chicken which... it didn’t. The legs of the chicken are rising above the red pool. After scouring the kitchen for any more bowls, I realized that anything else I had was either too small to fit the chicken, or too big to let the wine come up more than halfway around the damn thing, so the bowl would have to do. I chucked it into the fridge to marinate with a hope that it would be enough.


A few hours later, the chicken was kind of a ghastly red color which, I figured, meant it had soaked in enough wine. I separated the liquid marinade from the solid veggies and herbs, then patted the chicken dry and set about browning it in my dutch oven.


Zombie chicken?


Here is where I ran into some problems. According to Tony, you’re supposed to brown the entire chicken--whole. My dutch oven fit the thing fine, but where I was struggling was turning the darn thing over so it could brown evenly on all sides. Now, in my admittedly beloved Ad Hoc at Home cookbook, Thomas Keller warns against using tongs, since they cut and tear at the food you’re trying to move. I scoffed (YES I SCOFFED AT THOMAS KELLER) because who the hell was he to tell me not to use my beloved tongs, aka “bacon nippers” as that is what they are generally used for at my house. Well, I repent, Mr. Keller. The tongs I was using tore into the chicken’s skin as I struggled mightily to turn the damn thing over in the pot. Admittedly, my large kitchen spoons and spatula did pretty much the same thing, so really, not much improvement. Anyway, by the time the thing was browned, it was also torn and kind of gross looking. Oh well, I figured, it’ll taste good anyway.


Ew but yum (??).

Next I browned the carrot, celery and onion that I'd used in the marinade. This took a little while, as they were still a bit damp from the wine.


At least these look appetizing...

Once browned, I sprinkled them with flour, then added the chicken and the marinade liquid, and set it to cook over low heat for an hour and fifteen minutes.

Okay, second problem. Low heat barely touched this pot-o-gunk. After the first few minutes I took a look at the pot, then cautiously stuck a finger in. Despite the flame at the bottom, the stuff at the top was ice cold! Not a good cooking technique, especially for chicken. I raised the heat in order to get things going, which seemed to work all right.

Then I cubed up the bacon and crisped it in the pan, set the bacon aside and fried mushroom tops in the grease. This smelled divine, and it was all I could do to keep from munching on bacon bits and mushroom tops and calling it dinner.


Okay, last part of the recipe! Time to cook the pearl onions and--wait, what? I'm supposed to fill a pot with enough water and butter to cook the onions, boil it down under a parchment lid, then once the liquid is gone, brown the onions in the leftover butter? When I saw this I facepalmed, because if you're cooking the onions at a simmer, not a boil, this is going to take ages.


Parchment lid = this takes for freaking ever.

And hey, I was right. The chicken finished cooking long before the onions even halfway boiled down, but I just clapped the lid on the dutch oven to keep it all warm, and kept the onions going. Finally, the water receded, and the onions began to brown a little in the butter. Then? They fell apart. Completely. Like, all that was left in the pot was this weird onion mush. Only thing was, the mush tasted buttery, sweet and AMAZING, like ambrosia onion mush.


Mmmmm delicious mush.

There was no fond in the pot to speak of, but I reduced some of the wine anyway, and made the sauce with the marinade as specified (though I had to use a little corn starch to fake the thickening after Husband J began to complain about how hungry he was). I was so demoralized by that time that after I got the whole freaking thing plated, I couldn't be bothered to take a picture of the ripped up chicken with onion mush in a too thin sauce.

But you know what?

It actually tasted pretty good--and even better the next day after I shredded the remaining chicken meat and served it, and the sauce, over some buttery linguine. Just goes to show that you shouldn't write off a dish just because of some initial failure.

Still, it got me thinking that maybe I shouldn't dive in to these difficult recipes so soon... maybe try something a bit simpler and try to get more in the swing of things.

Lessons Learned: Read the whole freaking recipe before you start, so you can figure out what part of it will take for freaking ever. Even disastrous recipes can taste pretty good, especially when they've been left to meld for a while.

Next week: Tartiflette

Sunday, September 26, 2010

The Great Mayonnaise Rescue

With all the hoopla going on about salmonella in eggs, I think now is a good time to take a stand. I'm very careful about food safety in my kitchen. I wash my hands after touching raw meat, I use a plastic cutting board for meat so that I don't contaminate the wood board I use for veggies, and I use a thermometer to ensure I'm cooking my meats to the proper temperature. But there is one thing I refuse to stop doing, and that is eating raw eggs. I love undercooked and raw eggs--their creamy texture, their rich flavor--and I love what they do to foods made with them. I will not, absolutely will never stop eating raw eggs no matter what food scares occur.

One of the reasons I'm able to take a stand, of course, is that I don't buy eggs from the grocery store, ever. I buy them from Farmer Tom at the farmer's market. Farmer Tom is an awesome farmer who sells the best, most delicious medium and large free-range pastured brown eggs. And if you're a little kid or pretty girl, he does magic tricks with a rubber band while you buy your eggs from his stand. (Also, when I told him that his eggs were the most delicious, he said "I'll tell the chickens!" which is adorable.)

So since I have too much to do today to make a full dish, I decided to make a favorite sandwich--BLTs--and do it with homemade mayonnaise to make up for the aoli fail that occurred a few months ago. People make mayonnaise all the time, so it can't be that hard, right? I just had an off day with the aoli. I decided to try the mayonnaise recipe from Ad Hoc at Home, to see if the recipe would make any difference.

So, I gathered my mise--four egg yolks, lemon juice, salt, and 2 cups canola oil (I added some peanut to the oil, as I didn't have enough canola).


I put the yolks into the blender (to see if it worked better than the food processor) and mixed them.


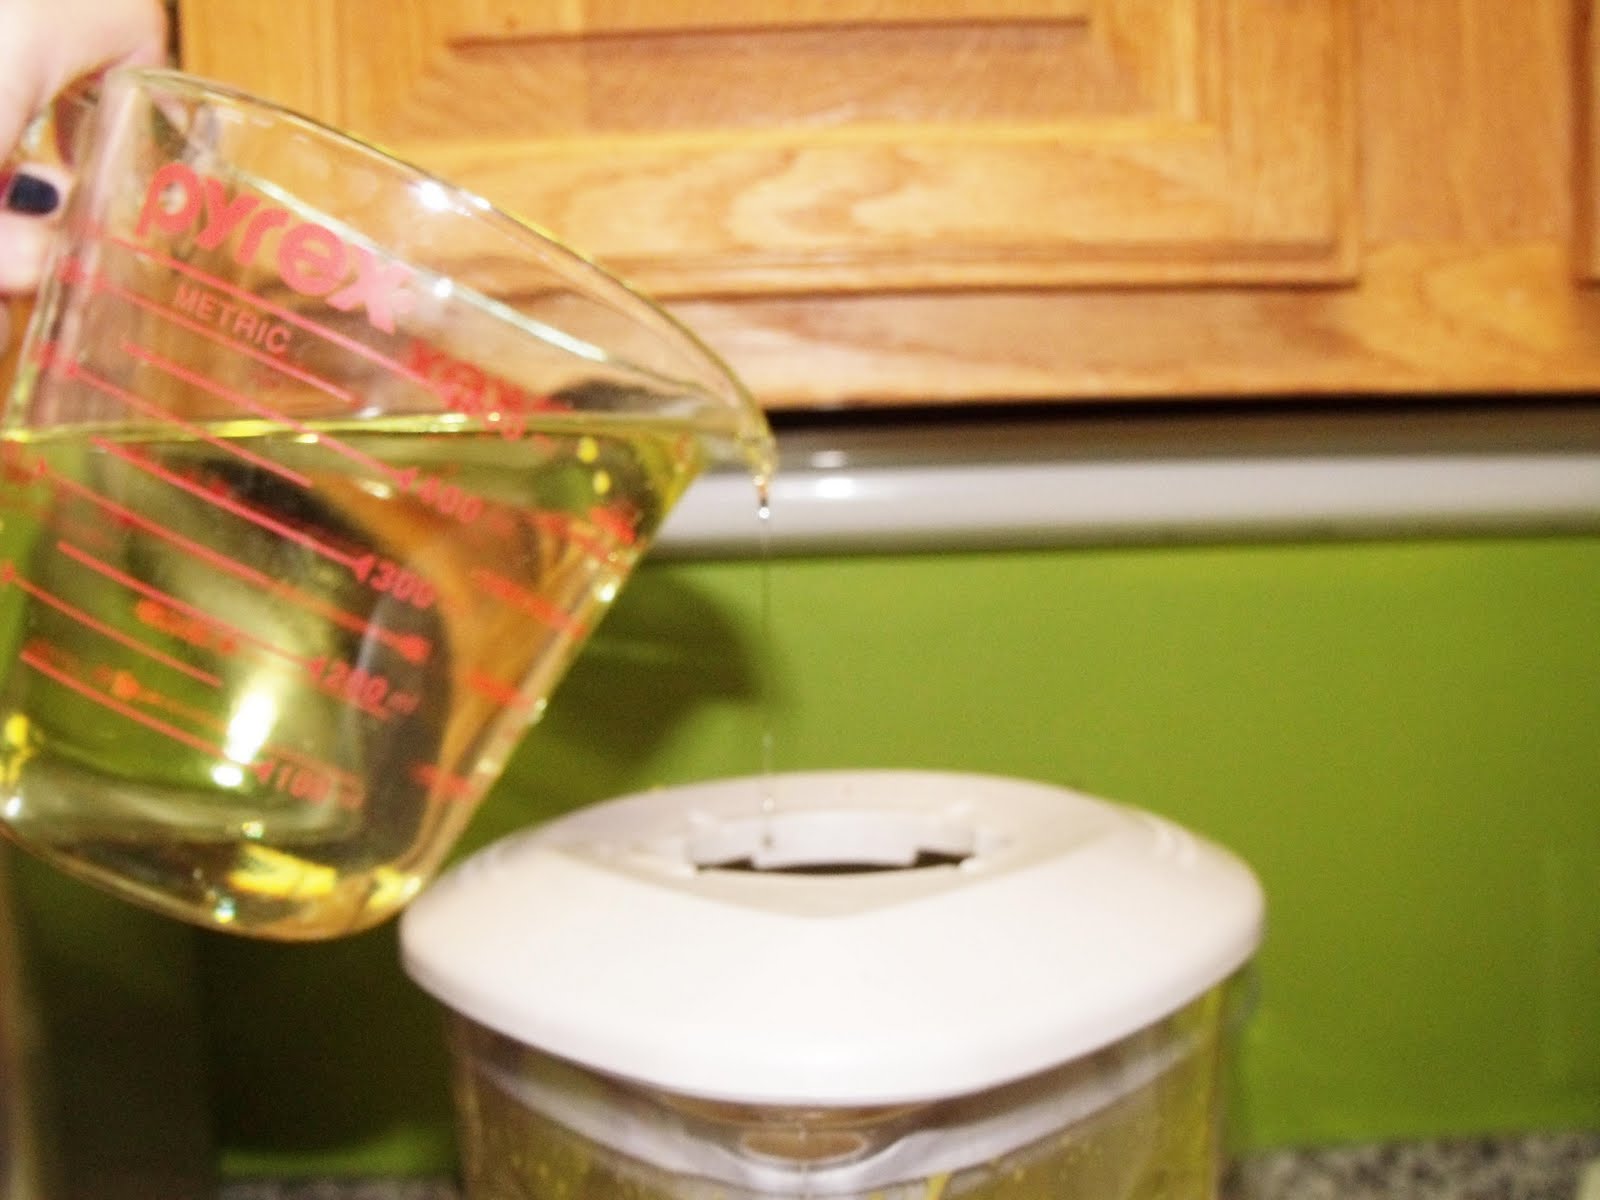
Next, with the blender running, I began to trickle oil, very slowly, into the top of the blender.


With mayonnaise, and all the other "aise" sauces (hollandaise, bernaise, aoli..aise...) the most important thing is to add the oil slowly, almost drop by drop, to allow it to emulsify with the egg and prevent it from separation. Too much oil at once, and the sauce will separate into the runny failure.

For a while, things looked good. The mayonnaise was thick and creamy, and I kept adding the oil s-l-o-w-l-y while stopping to scrape the sides of the blender.


But once half the oil was in, the noise in the blender changed and liquid started spurting up out of the hole in the lid--oh no...


Blech. Nasty, runny, separated mess.

I stomped around the kitchen for a while but then remembered that there is, actually, a way to save separated mayonnaise--and now was the time to try it. I abandoned the blender in favor of a hand beater and a bowl. I beat another egg yolk:


Then, little by little, I added the separated mess to the yolk, beating all the while. This, finally, did the trick, and the mayonnaise came together, even when I added the remaining oil, the lemon, and the salt. The finished product was eggy, lemony, salty... perfect.


I spread it over fresh toasted bread, and added tomatoes and lettuce from the market, and some crisped bacon.


The result was delicious (though the bacon plus mayo was a bit salty without very thick slices of tomato to balance it out). A delicious lunch, and I'm slowly but surely feeling better about cooking again.

Oh, and by the way, we didn't out those egg whites to waste. Husband J made us Ace Cocktails, a concoction of gin, cream, egg white and maraschino. A little sweeter than I usually like, but I do love that egg froth mouthfeel. Delicious.

Lessons Learned: Nico's new rules of mayonnaise: 1) Raw egg is delicious. Buy your eggs from farmers, and don't be afraid of them. 2) Pour the oil in as slowly as you can. 3) If it separates, don't freak! Just pour the separated sauce into a new egg yolk and it will solidify much better.

I'll try the aoli again using these rules, and this time I have confidence that I will succeed!

Sunday, June 6, 2010

Chartreuse of Quail

So, who here is sick and tired of me whussing out on this project with soup? Yeah, me too. So I decided that this weekend, I would need to step up my game and make something truly fancy. I was musing over this one morning, thinking of what I could make while flipping through the book, and then turned to the page for Chartreuse of Quail. This multi-step dish involves a truly stunning layered presentation, and specialty ingredients. It would be perfect... if I could pull it off.

First thing is to get the specialty ingredients. Chartreuse of Quail calls for... quail, duh, but also foie gras. These are both pretty hard to find under normal circumstances, even in a big city with a Whole Foods every couple of miles. Foie gras in particular is pretty hard to come by locally, considering Whole Foods has stopped selling lobster for humanitarian reasons. However, there is always the magic of MAIL ORDER MEATS! Yep, there are companies that will overnight foie gras, or whatever interesting and exotic cut of meat you'd care to order. I went with D'Artagnan, which is a venerable company, and much discussed in food blogging circles. D'Artangan sells four-packs of whole quail, and 5-ounce packs of foie gras for what I consider a very reasonable price. I ordered the packs to be delivered overnight for a Friday morning delivery, the day when Husband J takes advantage of his government-mandated flex time. He me the Fed-Ex guy at the door, and our ingredients were safe in the fridge.


Okay, hurdle one accomplished. Next, time to debone the quail. Chartreuse of quail calls for the breasts of the quail to be separated from the rest of the body, and the legs reserved as a garnish for the dish. This is fine when you have a chicken, but with a quail, it's easy to cut straight through the fragile bones and leave sharp points that could cut an unwary eater. I used a paring knife to cut down the sides of each quail's spine, and separated the bones from the rest of the carcass as follows:


Tiny quail bodies.


Cutting the breasts away...

This left me with eight breast slices, and eight legs. I seasoned the breasts with salt and pepper and sauteed them, skin side down, for five minutes.


Then I took the breasts, which were only partially cooked, and set them aside.


I also sauteed the quail legs for use as a garnish.


Next, it was time to prepare the cabbage. I peeled big leaves off of a head of cabbage, and boiled them for five minutes in salted water. I set the leaves aside.


And then I made stuffing by sauteeing some chopped bacon with carrot and onion until the vegetables were browned.


To this mix, I added shredded cabbage and sauteed it all until it was soft, shiny and wilted--about half an hour.

Finally, I made a rich buttery sauce. I deglazed the quail pan with some port wine.


I set that aside, and roasted the quail carcasses with some butter, carrot and onion in a big pan.


Once the veggies and carcasses were roasted, I deglazed the pan with more port.


Then I transferred all of it to a saucepan. I added some herbs and pepper, and some chicken stock, and simmered the lot until it was reduced by half.


I strained the liquid out into another saucepan, and boiled the sauce for 15 minutes.
Finally, I whisked a good sized knob of butter into the pot for a rich sauce.


Ok, all of the elements of the dish have been made. Now for the hard part... molding the chartreuses. Yes, you heard me right... this dish involves molding all of the ingredients into a layered terrine.

First, I buttered some ramekins, and laid a cabbage leaf into each one, letting the sides of the leaf flop over the sides. Next, I scooped some bacon-cabbage stuffing into each mold.


Then, I layered some foie gras, and two quail breasts over the stuffing.


More stuffing went on top of the breasts, then folded the cabbage leaf over the stuffing. Finally, I topped each mold with a round of bread that had been brushed with melted butter.


I chucked the carefully constructed molds into the oven to bake for about a half an hour. Then, with trepidation, I put on my oven mitt and upturned the first mold onto a plate, and...


OMG IT SO WORKED!!!

Wanna see that again from the side? Oh yes you do.


Awwwww yeah.


When we cut the molds open, a delicious mix of quail meat, foie gras, bacon and veggies greeted us.

According to Husband J, this was one of the best things I'd ever cooked, and that it rivals his prior favorite, the Coquilles St. Jaques. I think the coquilles were better, myself, but I thoroughly enjoyed the delicious quail molds. They were tasty. They were impressive. And best of all, these were super EASY to do. Sure, it took a bit of effort and expense to get the ingredients, and time to assemble the things, but overall, there was not much difficulty in putting these together. And they make such a spectacular product. I'd say that this dish wins the prize for "the dish you want to make to impress someone into thinking you are more talented than you actually are. And by the way, DELICIOUS."

Lessons Learned: Just because the dish looks crazy fancy doesn't mean it's difficult to make. Mail order meats are a viable and not too expensive source of specialty ingredients. Foie gras is crazy delicious.

Next Week: Veau Viennoise

Sunday, March 28, 2010

Daube Provençale

It's getting on spring and the weather is just teetering on nice, which for me is very exciting. I love springtime and summer, though in terms of food, those seasons tend to get me eating less than in winter. I think this is a pretty universal condition, craving less, fresher food in the summer and more warm and fatty food in the winter.

This is a little bit of an issue with the Cooking Les Halles project, since so much of it is "wintery" food: braises, stews, fatty cuts of meat, and all that. So, during the first weekend of March, which was (though I didn't know it then) one of the last cold weekends of the season, I decided to make the ultimate winter food: a big old lamb stew, or daube provençale.

Daube provençale takes a bone-in cut from a lamb's neck. I was worried about being able to find such a cut around, but as luck would have it the local Whole Foods does indeed carry locally raised, bone-in lamb neck cuts in 1.5 lb packages. I have to say, with all the crap that Whole Foods gets, it is a great place to find what you need, when you need it. Anyway, I picked up the neck and a few needed veggies, and headed home to stew.


Cuts of lamb neck

First, I browned the lamb in a dutch oven, using a mix of olive oil and butter.


After the lamb was browned, I set it aside and replaced it with half a pound of bacon.


It is pretty weird to be sauteing bacon in oil and butter... doesn't it have enough grease?

Once the bacon got crispy, I poured most of the liquid bacon grease, oil and butter mix into a bowl to discard later (never pour bacon grease down the drain!) and sauteed an onion, some celery and two chopped garlic cloves in the remaining fat. Once caramelized, I added some tomato paste, a little flour and some wine to scrape up the fond. This got taken to a boil, and reduced by half. Next, I added a cup of my reserved veal stock ('memba that?) and some demi to the pot. Finally, the rest of the ingredients--lamb, carrot, bouquet garni, some orange zest, and the bacon--went into the pot.


I simmered the stew for 90 minutes while I peeled potatoes. The recipe says that you should peel and "turn" the potatoes, which means cutting them into small football shapes. Or, just cube them. Uh, yeah, football shapes? I cubed them. After the 90 minutes, and plopped the potatoes into the pot to stew for 15 minutes. Then I served the stew in big old bowls.


This was nothing mind blowing, but it was a very tasty winter stew, with great hearty potato and meat flavors. It was especially satisfying to gnaw the lamb meat off of the neck bones, and poke out the tiny bit of softened marrow that was in there. It was a great way to say good bye to winter, and I'm looking forward to making more dishes in the spring.

Lessons Learned: Not too many, though this did reinforce the fact that meat on the bone is best for wintery stews. Tony calls those who prefer boneless "poor deluded bastards," and I'm inclined to agree.

Next Week: It's Easter! And I have cooking duty for Easter dinner. Wait and see what I have in store... main dish by Tony Bourdain, sides by Thomas Keller, and dessert by Dorie Greenspan. Let's hope it's as delicious as I think it's going to be.

Sunday, February 14, 2010

Moules Normandes; Aoli

Happy Valentines Day!

Okay, okay. I think you know enough of my character to know that I am NOT a huge fan of Valentine's day. It's nice and all, but who needs chalky, unpleasant heart-shaped candies, and greeting cards with canned sentiment? Not me, for sure. Valentine's Day for me usually carried the same dread as Friday the 13th--even when I wasn't single, something horrible would invariably happen and the day would go completely wrong.

Once I met Husband J, though, Valentines Day settled down, and bad things stopped happening. I learned to sit back and enjoy the day, rather than dread it, and we began a tradition of staying in, and cooking fun meals to celebrate the day. (Unusual presents, too--Husband J got me a much-coveted bottle of L'heure Bleue, while I got him a copy of Brütal Legend, a heavy metal themed video game starring Jack Black. That's love!)

For tonight's dinner, I really wanted to go all-out to make up for my slacking lately, what with the storm, the trip, and the simplistic dishes I've been making for the past few weeks. I ambitiously set my sights on Duck a l'orange, only to run into a snag--there is no duck to be had in the city. Even my faithful Eastern Market butcher doesn't stock poultry! So, stranded at the Whole Foods, Husband J requested mussels, which were in stock. I knew that there were five--count 'em, five--recipes for mussels in the Les Halles Cookbook that needed to be gotten through, so I agreed. We picked up a bag of mussels, and headed home to cook.

Now, mussels plus Tony Bourdain does not equal sweet harmony. In fact, he admits in the cookbook that he has "famously frightened away hundreds of people from eating mussels." For those who haven't read Kitchen Confidential, there's a segment in the book in which Tony explains some of the less savory kitchen practices in restaurants, and how that resolves into what he will or will not eat when dining out. While he grants that he is not bothered by recycling bread baskets from one table to another (me neither, I'll eat the bread too), he does provide some basic tips about what not to eat at restaurants. These tips include "never order fish on Monday," "no hollandaise," "don't eat in a restaurant with filthy bathrooms," "no swordfish," (three foot long parasitic worms, anyone?) "no well-done steak" and, most damning, never eat mussels in a restaurant, unless you see how they handle and store them. Mussels need to drain while being held for cooking, and be picked through carefully to ensure each mussel is healthy and alive before throwing them into the pot. But, as Tony explains, this type of handling is rare because mussels are so easy to cook and sell at a premium. Toss them in a pot, and $24.95 later, you're making a sweet profit with time left over to chiffonade your mise. The effects of eating bad mussels are dire, he explains, using such phrases as "shitting like a mink." I prefer not to spend my Valentine's evening in such a position, so I resolved to handle the mussels as carefully as possible, first storing them in a colander above a bowl in the fridge, so that they could drain properly.

The best thing to eat with mussels is, of course, fries with mayonnaise in the true Belgian style. I wasn't about to try deep frying myself some fries just yet (no Valentine grease fires please) so I whussed out with some frozen fries. But I determined to make some garlic aoli (in the "miscellaneous meez" section of the book) for dipping. The recipe calls for four garlic cloves, half a cup of olive oil, and salt, pulsed in the food processor. Once pulsed, add an egg yolk, and leave the processor running while another half cup of olive oil is trickled in.


Easy, right? Well it ended up in a runny, grainy, separated mess.


Blech. Please pay no attention to my "claw hand" there, I was trying to steady the oily mess and take a picture at the same time.

I'm no stranger to mayonnaise mishaps, having tried making it myself before, but I was pretty disappointed in the nasty mess I'd made with the aoli. Hopefully the mussels wouldn't have the same result...

I started the mussels by frying bacon, the way every dish should start, in my opinion.


Next, I melted a ton of butter in a pot, and fried chopped shallots until soft.


Then, I added sliced mushrooms and cubed apple, and sauteed them until they released their liquid and softened.


The recipe called for calvados (French apple brandy), but instead I used what we had on hand--apple whiskey from Leopold Bros. in Colorado. Then I added cream, salt and pepper, and brought the whole thing to a boil.


As the sauce simmered, it was time to go through the mussels. I hauled the colander out of the fridge, and went through the pile, mussel by mussel, checking which were tightly closed (good) and which were gaping open (bad). The open ones were thrown out, while the closed ones got tossed into the pot and cooked in the sauce until they opened up. I probably threw out about half of the mussels, which sounds wasteful until you think of the phrase "shitting like a mink" and what it signifies.


At this point I had a problem--the recipe didn't say what to do with the bacon that I had fried at the beginning of the evening. So, I dumped the bacon bits over the cooking mussels. Once all the mussels opened, I dumped them into a bowl and served them with the fries, and a loaf of homemade bread.


The verdict? Oh my god. The mussels were delicious and sweet, and I was happy that I had picked through them so carefully. But the best part was the sauce, which was creamy and smoky from the bacon and whiskey. I was actually happy when all the mussels were gone, so I could soak bits of bread in the sauce and lap it all up. Husband J and I actually ignored our fries to focus on the mussels and sauce, which was really something. Husabnd J said that this was definitely one of his favorite meals, in that it was more of a casual, "pub food" meal than most of the ones I have cooked so far. All in all, it was a great Valentines Day meal, and more than made up for my aoli fail.

Lessons Learned: Always handle and store your mussels carefully, and toss the open ones before you cook. Aoli is freaking hard. Pay attention to what's to be done with the bacon. Homemade mussels and homemade bread are much better than frozen french fries.

Next Week: Ehhh I'm not sure... I'll think on it.

Sunday, November 29, 2009

French Onion Soup

In my life, two things are certain. One, I love my mother. Two, my mother loves French Onion soup more than pretty much any other meal.

So, when I saw the french onion soup recipe in the Les Halles Cookbook, I knew I had to make the dish especially for her. And what better time to do so than when I stay with her over Thanksgiving weekend? I ran it by mom and my sisters, and they all agreed that it might just be the best idea ever. So when Thanksgiving Day came around, Husband J and I trucked two quarts of the dark chicken stock I made last week out to the suburbs so that we could make French Onion soup for the family on Black Friday.

We started out the day by avoiding the Black Friday crowds and heading to the antique mall (where I found a vintage (looking) half bottle of Eau de Joy, score!!!), then shopping for ingredients at the local Whole Foods. Once the onions, port, cheese and baguette were in hand, we faced a different problem--no oven-proof soup crocks. I'd thought of bringing my ramekins from home, but it seemed too much trouble to bring those and all of the chicken stock needed for the soup. But my plan to find adorable vintage onion soup crocks at the antique mall fell through when said adorable crocks didn't exist. There were good looking ones at the Whole Foods, but they were individually packaged with powdered cheese soups (bleh). So Husband J and I did the unthinkable... we ventured into the local K-Mart.

We wandered the aisles, half cowering in fear, gazing at the cheap-ass Martha Stewart collection kitchenwares and the disproportionate number of deep fryers. As we were about to give up, Husband J suddenly found a set of adorable red flower-shaped ramekins, absolutely perfect for our soup purposes. We gleefully snapped up six, and ran home to prepare the soup.

First step is of course, prepare the onions. The recipe calls for one big onion per serving, and chopping six onions proved pretty time consuming, and kind of offensive. I'm not really bothered by chopping onions, but as I went from one to the next, everyone started to complain about watering eyes and started opening windows and turning on fans. I? Shed nary a tear. Weird, right?

Anyway, once chopped, the onions went into the pot to caramelize with a huge load of butter.


It took a while for the onions to get dark and beautiful, but once they were, we poured in some port:


and some vinegar:


and some bacon:


then added the chicken stock and herbs, and brought the whole mess to a boil, then simmer. While the soup simmered, we toasted baguettes brushed with oil to make toasts, grated a ton of Gruyere, and prepared a big salad.


Simmering...

With the soup finished, it's time for the fun part! First float a toast in the bowl, then pile the Gruyere on top. Then put the bowls under a preheated broiler so the cheese melts and chars and forms a crust.


This is where I ran into some problems--Mom's broiler requires that several buttons be pushed before it turns on, and I foolishly only pushed one. The broiler didn't turn on, but the residual heat in the oven melted the cheese into a greasy mess with oil pooling on top of the soups and the baking sheet. I realized what had happened after a minute and turned the broiler on, but the crusts were not as robust as they could have been. I mopped up all the oil I could, and served.


Well, as always, the soup was a huge hit. Mom loved it, which was very satisfying, and to me it tasted exactly like the real thing, what you'd order in a classy French restaurant. (Minus, my grandmother commented, excess salt and gobs of cheese, which I think was a compliment).

Lessons Learned: Make sure the broiler is on before putting the cheese soups under it. Just because you are not affected by onions doesn't mean everyone else is. It is possible to produce delicious french onion soup in your own kitchen. K-Mart is good for something after all.

Next Week: Braised short ribs